How to Make the Best Homemade Garlic Bread
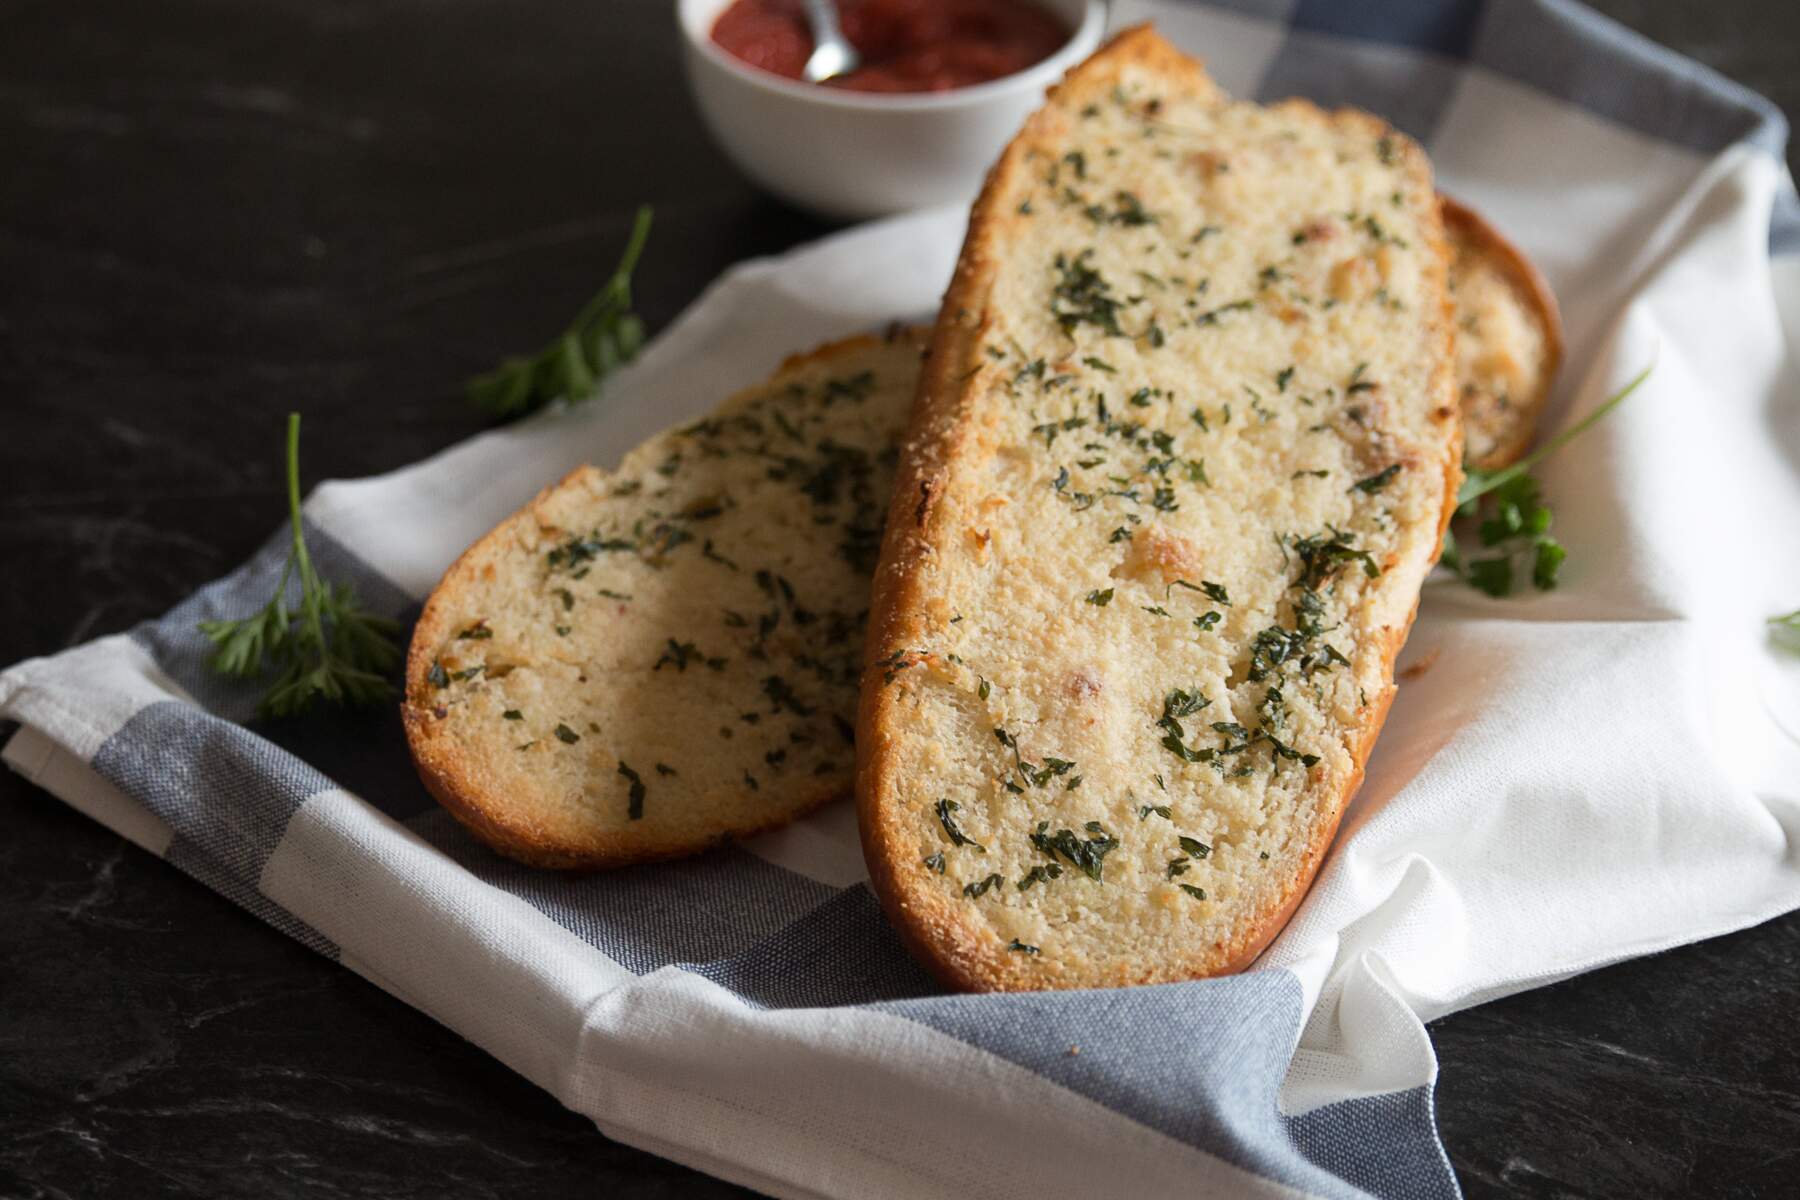
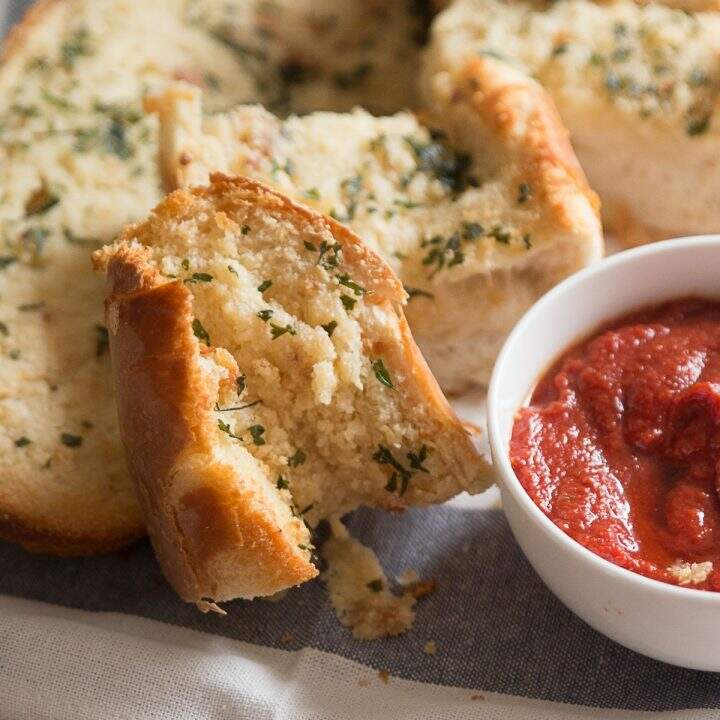
This homemade garlic bread is perfectly garlicky, buttery, lightly cheesy, and delicious. It uses fresh garlic that is lightly sauteed before baking for the best possible flavor. There’s no need to buy the garlic bread in the bags when this comes together so quickly and easily, and is so tasty.
[wprm-recipe-jump][wprm-recipe-print]

This post contains affiliate links, meaning that if you make a purchase from one of these links a small percentage comes back to me at no additional cost to you. Learn more by visiting my disclosure page.
How to Make the Best Homemade Garlic Bread

I really can’t believe I am writing a post about homemade garlic bread. It’s not that I don’t absolutely LOVE garlic bread. No, this stuff has been one of my top favorite foods from the time I can remember. I mean carbs+butter+garlic, one of my favorite flavors ever? Yes, please! It’s definitely a winning combination. The reason for my disbelief is that garlic bread is (or should be) so incredibly simple to make that it seems like doing a blog post about it is a little silly. I think I began making my own toaster version of garlic bread at approximately 5 years old. So is it really necessary to write an entire post dedicated to this simple, but delicious staple? Obviously this post means that I decided the answer is YES!
While any combination of butter, bread, and garlic, will yield decent results, like many things that I attempt to make at home, I could never get garlic bread that was as good as I would get at any local pizza/pasta joint. If you spend much time reading this blog you will know that this irks me greatly. I am (or should be) as good as the local take-out joints, DANG IT! Anyway, as usual, this was cause for some experimenting.
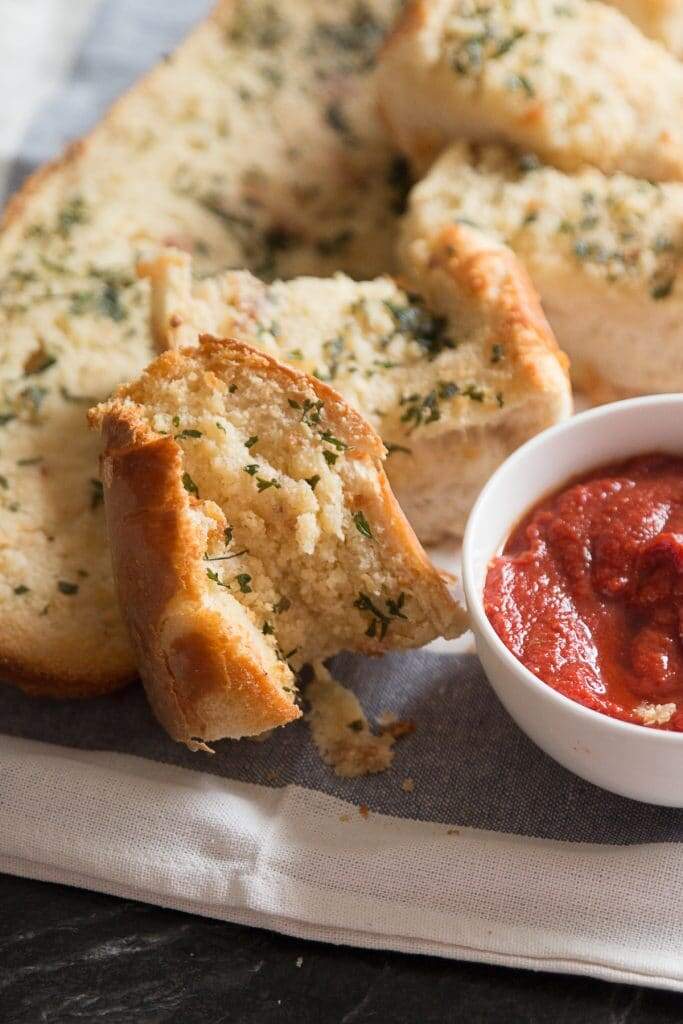
Does fresh or dried garlic make the best homemade garlic bread?
First I tried fresh vs. dried garlic. I assumed fresh would be better, but when I put fresh garlic right on the bread it didn’t seem to get cooked to my liking, and still had some of that raw garlic “bite” if you know what I mean. Dried garlic was okay, but lacked flavor and depth, so that wasn’t the answer either. The secret, I discovered, was to use fresh garlic, but to cook it lightly first to mellow out the bite and release that dang delicious garlic flavor.
Saute your garlic for mellow (and delicious) homemade garlic bread
So first things first with this recipe is to mince the garlic. I have mentioned before how much I absolutely LOVE my garlic press, and this recipe is the perfect time to use one as you want your garlic cut very small so it spreads evenly over the bread. Anyway, mince (or press) your garlic. I use about 4 cloves which turns out to be a heaping tablespoon of garlic. Does anyone else think that measuring garlic in “cloves” is highly inaccurate!? I get some largely different sizes of cloves.
Moving on. After you have minced your garlic it’s time to cook it LIGHTLY. First heat about 2 tsp of olive oil over medium heat. You don’t need a lot. Garlic is super finicky and prone to burning. Since you will continue to cook the garlic in the oven on the bread AFTER you saute it, you don’t want to let it brown. You want to cook it over medium, or even medium-low heat, for just 30 seconds-1 minute until it is beginning to soften and make your house smell delicious. Seriously, DON’T LET IT BROWN! Sorry for yelling, but I’m passionate about garlic bread, and assume you are too if you are reading this article.
Broil your homemade garlic bread for a toasty top
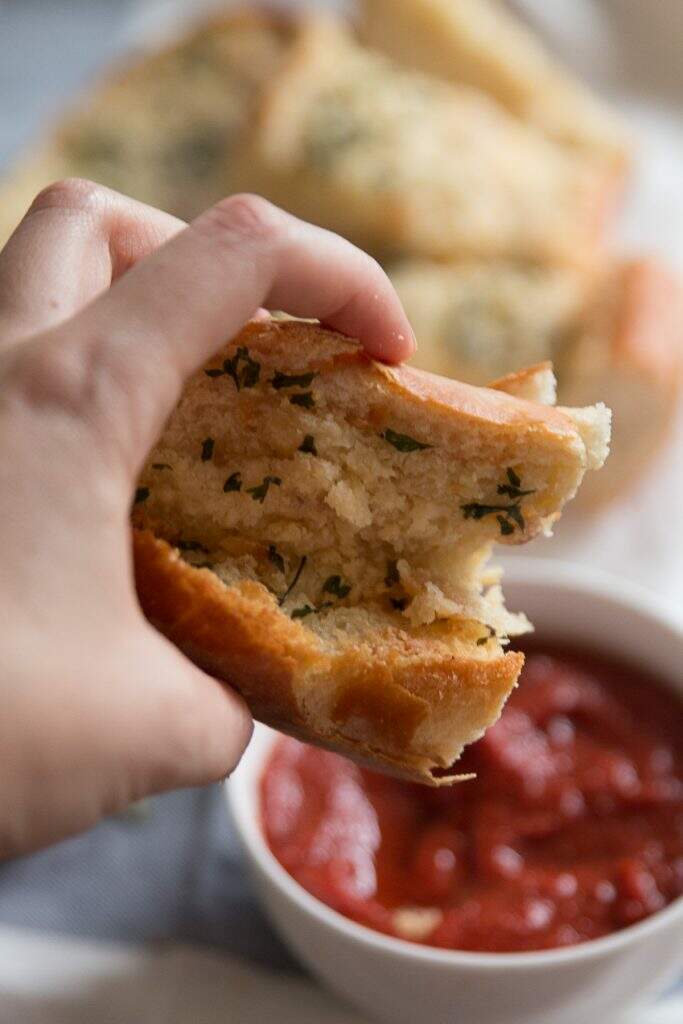
Next mix the garlic bread with some softened butter and a smidge of salt for added flavor, spread it over some high quality bread (may I suggest my homemade super soft french bread?), and sprinkle it with parsley (for color) and parmesan cheese (for more added flavor). Then bake it for about 7 minutes, before opening it up to broil the top for some nice crunchy buttery goodness. That’s it!
Like I said, homemade garlic bread is pretty easy peasy, BUT the step of cooking the garlic just a little in a saute pan before putting it in the oven truly makes ALL the difference. I promise.
Now, please leave that bagged garlic bread with mystery fat-like topping at the grocery store and make this delicious homemade garlic bread with real garlic and real butter ASAP. It would be great with my creamy chicken noodle soup, or the popular olive garden garlic herb chicken con broccoli. You could also pair it with my pear and apple salad for a simple weeknight meal or lunch.
Have you struggled to make something as simple as garlic bread at home!? Do you have any other spices or tricks that make your garlic bread the bees knees? Share in the comments below, I’d love to hear!
If you liked this recipe, check out the other ballin’ bread recipes on the site:
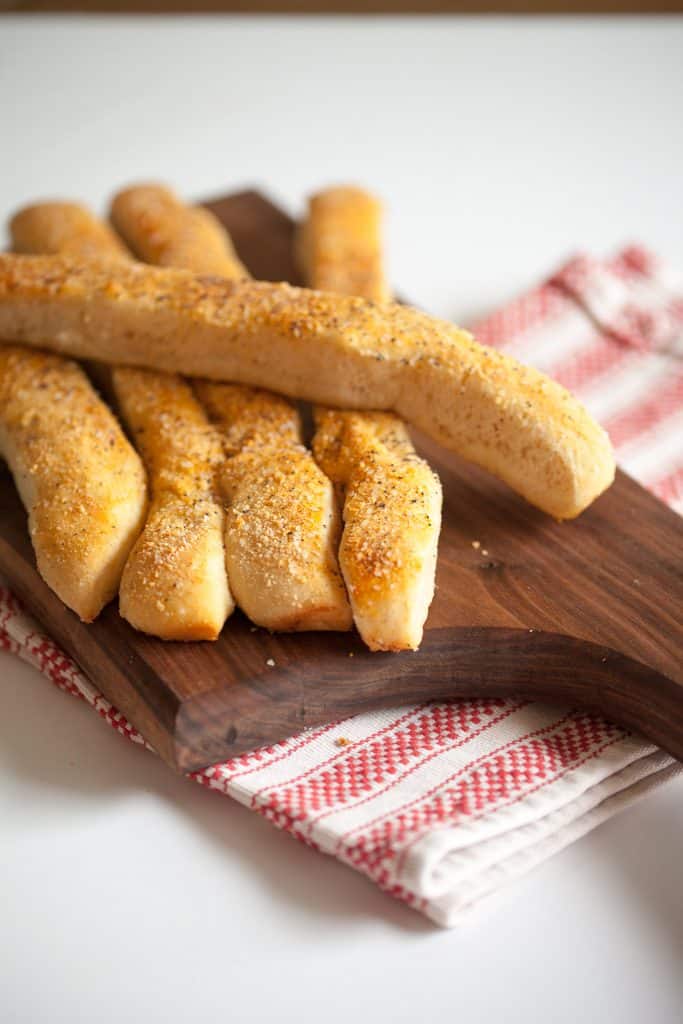
- 1-hour Wheat Breadsticks
- Wheat Bagels from Scratch
- Super Soft French Bread
- Crusty French Bread Rolls
The Best Homemade Garlic Bread
Make perfectly garlicky, buttery, lightly cheesy, crunchy on the outside, soft on the inside, garlic bread every time.
Ingredients
- 1 Loaf good quality french bread, can use whole wheat
- 2 tsp olive oil
- 1 tbsp heaping garlic, minced (~4 cloves)
- 1/8-1/4 tsp salt
- 6-8 tbsp butter, softened
- Parmesan Cheese, to taste
- tsp ~1 dried parsley
Instructions
- Preheat oven to 350 degrees.
- Heat olive oil in small saute pan on stove over medium heat. Add minced garlic and saute until it begins to soften and smell good. DO NOT LET IT BROWN.
- Mix sauteed garlic with 1/8 tsp salt and 6 tbsp of butter (unless you have a monstrous sized loaf of french bread, then you might need 8 tbsp). If you use unsalted butter you may want to up the salt to 1/4 tsp.
- Slice bread in half like a giant roll, and spread butter mixture evenly on both sides. Sprinkle with dried parsley and parmesan cheese to your tastes.
- Put garlic bread back together like a loaf (so the buttered sides are facing each other and the bread is closed).
- Bake directly on the top rack for ~7 minutes.
- After 7 minutes, open the garlic bread so the buttered sides of both pieces are facing the top of the oven (under the broiler).
- Broil bread for about 5 minutes, until beginning to lightly brown and get crispy. Watch EXTREMELY carefully as the garlic bread can easily burn at this point.
- Remove from oven, slice, and serve hot.
Nutrition Information:
Yield: 12 Serving Size: gAmount Per Serving: Calories: 155





Perfection! Warming the garlic mellowed it out and broiling the loaf gave it a beautiful, golden color. Thanks for a delicious and simple side dish recipe!
I absolutely love this homemade garlic bread recipe! The combination of fresh garlic that’s lightly sautéed gives it such an incredible depth of flavor. It’s perfectly garlicky, buttery, and just the right amount of cheesy. Plus, it’s so quick and easy to make—definitely beats store-bought every time! This one is an absolute must-try, and I’ll be making it again and again.
This garlic bread recipe is a total game-changer! The fresh, sautéed garlic adds such a rich, authentic flavor, and the balance of buttery goodness and light cheesiness is just perfect. It’s so simple to make, but tastes like something you’d get from a restaurant. Forget the store-bought stuff—this homemade version is on a whole new level of deliciousness! Definitely bookmarking this one.