
Make-Ahead Crusty French Bread Rolls
These crusty french bread rolls have the perfect crusty crust on the outside, and amazing chewy middles. They can be par baked and frozen ahead of time so you can have hot, fresh bread on the table in no time flat!

Is it just me, or can rolls be a little divisive? Some like them soft and fluffy, others crusty and chewy, and everyone seems to know someone who makes the best rolls ever.
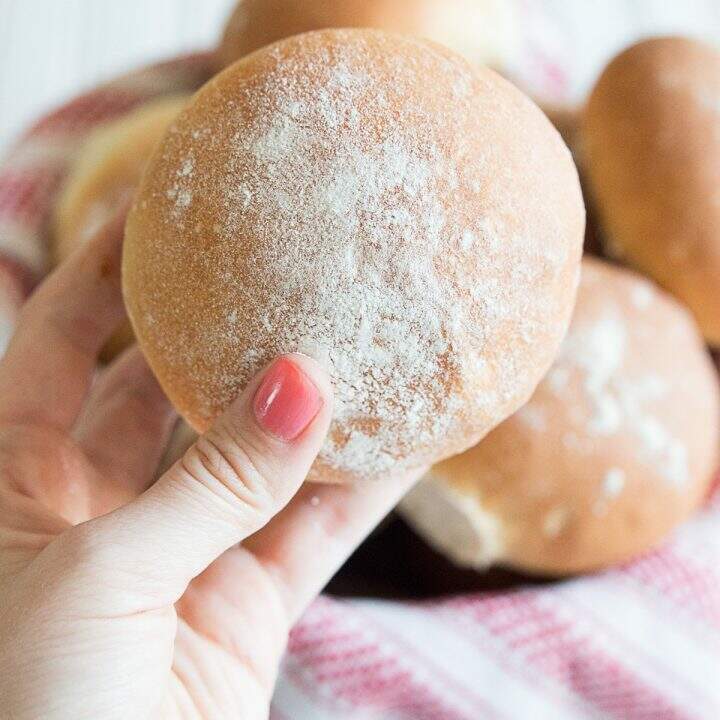
Personally, I’ve never met a carb that I didn’t like…but I’m in the crusty-chewy-dusted in flour-tastes like it just came out of a french bakery camp– when it comes to rolls.[social_warfare buttons=”facebook, twitter, yummly, stumble-upon, google+, pinterest”]
Make-Ahead Crusty French Bread Rolls
Before I discovered this recipe, I didn’t think it was possible to make crusty bread rolls at home. While these babies take a little tender love and care, they are really not crazy difficult and they honestly taste like they could have come out of your favorite fancy restaurant.
While you don’t need any fancy tools to be a good bread baker, there are a few things that I use to make this bread top notch.

This post contains affiliate links, meaning that if you make a purchase from one of these links a small percentage comes back to me at no additional cost to you. Learn more by visiting my disclosure page.
Suggested tools to make the best french bread rolls ever
- Bosch Mixer or KitchenAid– I’ve gotta be honest, as charming as hand kneading bread is, it takes forever and is much more finicky than using a mixer. Don’t stress if you don’t have one, but if you do, USE IT!
- Bench Scraper-If you don’t have a mixer and are going to knead by hand you’re definitely going to want one of these. This handy tool is super handy for getting sticky dough off your table (plus, it doubles as a great frosting smoother for making cakes…love multi-purpose tools!)
- Pizza Stone-I’ve baked these rolls on a baking sheet as well as on a pizza stone, and they turn out well both ways, but to get that bakery crisp…use the stone.
- Baker’s Peel-Confession, I don’t actually have one, but it would have come in really handy if I did to transfer the rolls to the hot stone.

Keys to crusty and chewy french bread rolls
- In order to get a nice crusty-crust you’re going to need steam in the oven. I use the same method that I use for my homemade french bread and put hot water in a pan in the bottom of my oven to get some steam moving.
- I like to dust my rolls in flour before baking, it makes them look pretty and fancy, and also adds a nice rustic taste/texture to the finished product.
- Baking the rolls in cornmeal adds an extra little crunch to the bottom crust, as well as stopping the rolls from sticking.
- Lastly, like I already mentioned using a pizza stone, this thickens up the crust a bit and makes it nice and crusty!

How to make crusty french bread rolls ahead of time
Everyone loves hot baked bread, but I know it’s not on my menu too often because of timing! These rolls will solve all of your roll-timing problems.
My secret, is parbaking the bread rolls when I make them and then throwing them in the freezer until I need to use them. Par baking means what it sounds like PAR-tially baking your rolls to set the crust, but leaving them underdone enough that when you heat them up they are still tender and delicious.
These rolls will take all of an afternoon to bake (sorry, if you’re looking for a faster bread option feel free to try my 1-hour wheat breadsticks), but they are mostly hands off and with my par baking tip you can bake them whenever you have time, and just throw them in the oven for 10-15 minutes when you are ready to eat them. Easy Peasy.
Make these rolls for your next get-together. People will think you are America’s next top baker, and no one will believe they came out of your home kitchen. Excuse me, I’m off to sneak one more bite.
We are bread FANS here at Call Me Betty, so if you are looking for more breadbaking inspiration try one of these recipes!
- How to make bagels from scratch
- Homemade soft french bread
- 1-hour wheat breadsticks
- The best homemade garlic bread
Make-Ahead Crusty French Bread Rolls
These rolls are crusty on the outside, chewy on the inside, and taste like they came out of your favorite french bakery. No one will believe these delicious rolls came out of your home kitchen.
Ingredients
- 2 1/4 tsp active dry yeast, (1 packet)
- 2 tsp sugar
- 2 C lukewarm water
- 6 C unbleached all-purpose flour, (plus addt'l for dusting)
- 1/2 C nonfat dry milk
- 1 tbsp salt
- yellow cornmeal, (for baking sheets)
Instructions
- In the bowl of a bosch mixer or kitchen aid dissolve yeast and sugar in lukewarm water and let stand for 10 minutes until bubbly
- Add 3 C flour, nonfat dry milk, and salt. Mix well. Add remaining flour while mixing on medium speed until dough pulls away from the side of the bowl and the dough holds its shape. You may not use all of the flour.
- Continue to mix on medium speed for ~7 minutes until dough is smooth and slightly tacky to the touch. Remove from mixer, form a ball, and place in a greased mixing bowl.
- Cover mixing bowl with plastic wrap or a clean kitchen towel and let rise in a warm place until double in size (about 1 hour) I like to turn my oven on the lowest setting for about 2 minutes, then put the dough to rise in there to avoid drafts.
- When the dough is risen punch dough down and turn it onto a lightly-floured work surface. Using a bench scraper divide into 16 even pieces by splitting the dough into quarters, and then dividing each quarter into quarters.
- Generously flour a clean kitchen towel and place on a baking sheet. Shape each section of dough into spheres and place on floured kitchen towel. Cover with another clean kitchen towel and allow to rise until doubled in size again (about 1 hour)
- About 30 minutes after your rolls have started rising, preheat your oven to 425 degrees F. If using a baking stone, add it to the bottom shelf of the oven to preheat when you turn the oven on. Also place a baking sheet on the bottom of the oven (if there are no coils) to use as a steam bath.
- When rolls have sufficiently risen, dust a baker's peel generously with cornmeal, then gently flip each roll so the floured side is facing up and place it on the baker's peel. Place baker's peel on pizza stone, and swiftly remove the peel with a jerk. (If you don't have a baker's peel, dust your baking sheets or pizza stone instead with corn meal, and carefully turn and place each roll directly onto the stone or baking sheet. Bake on the lowest rack in your oven.)
- Pour 2 cups of hot tap water into the baking sheet on the bottom of the oven and quickly shut the door to create a steam environment in your oven.
- To bar bake the rolls to be enjoyed later, bake for 15 minutes, let cool, and freeze in gallon ziplock bags until ready to use (I have saved mine up to 30 days, but they may last longer).
- When ready to use, bake rolls for 15 minutes at 375 degrees F.
- If you want to enjoy your rolls right away, bake for 25 minutes, then turn off the oven and let sit for 5 minutes with the oven door open to maximize the crustiness of the crust.
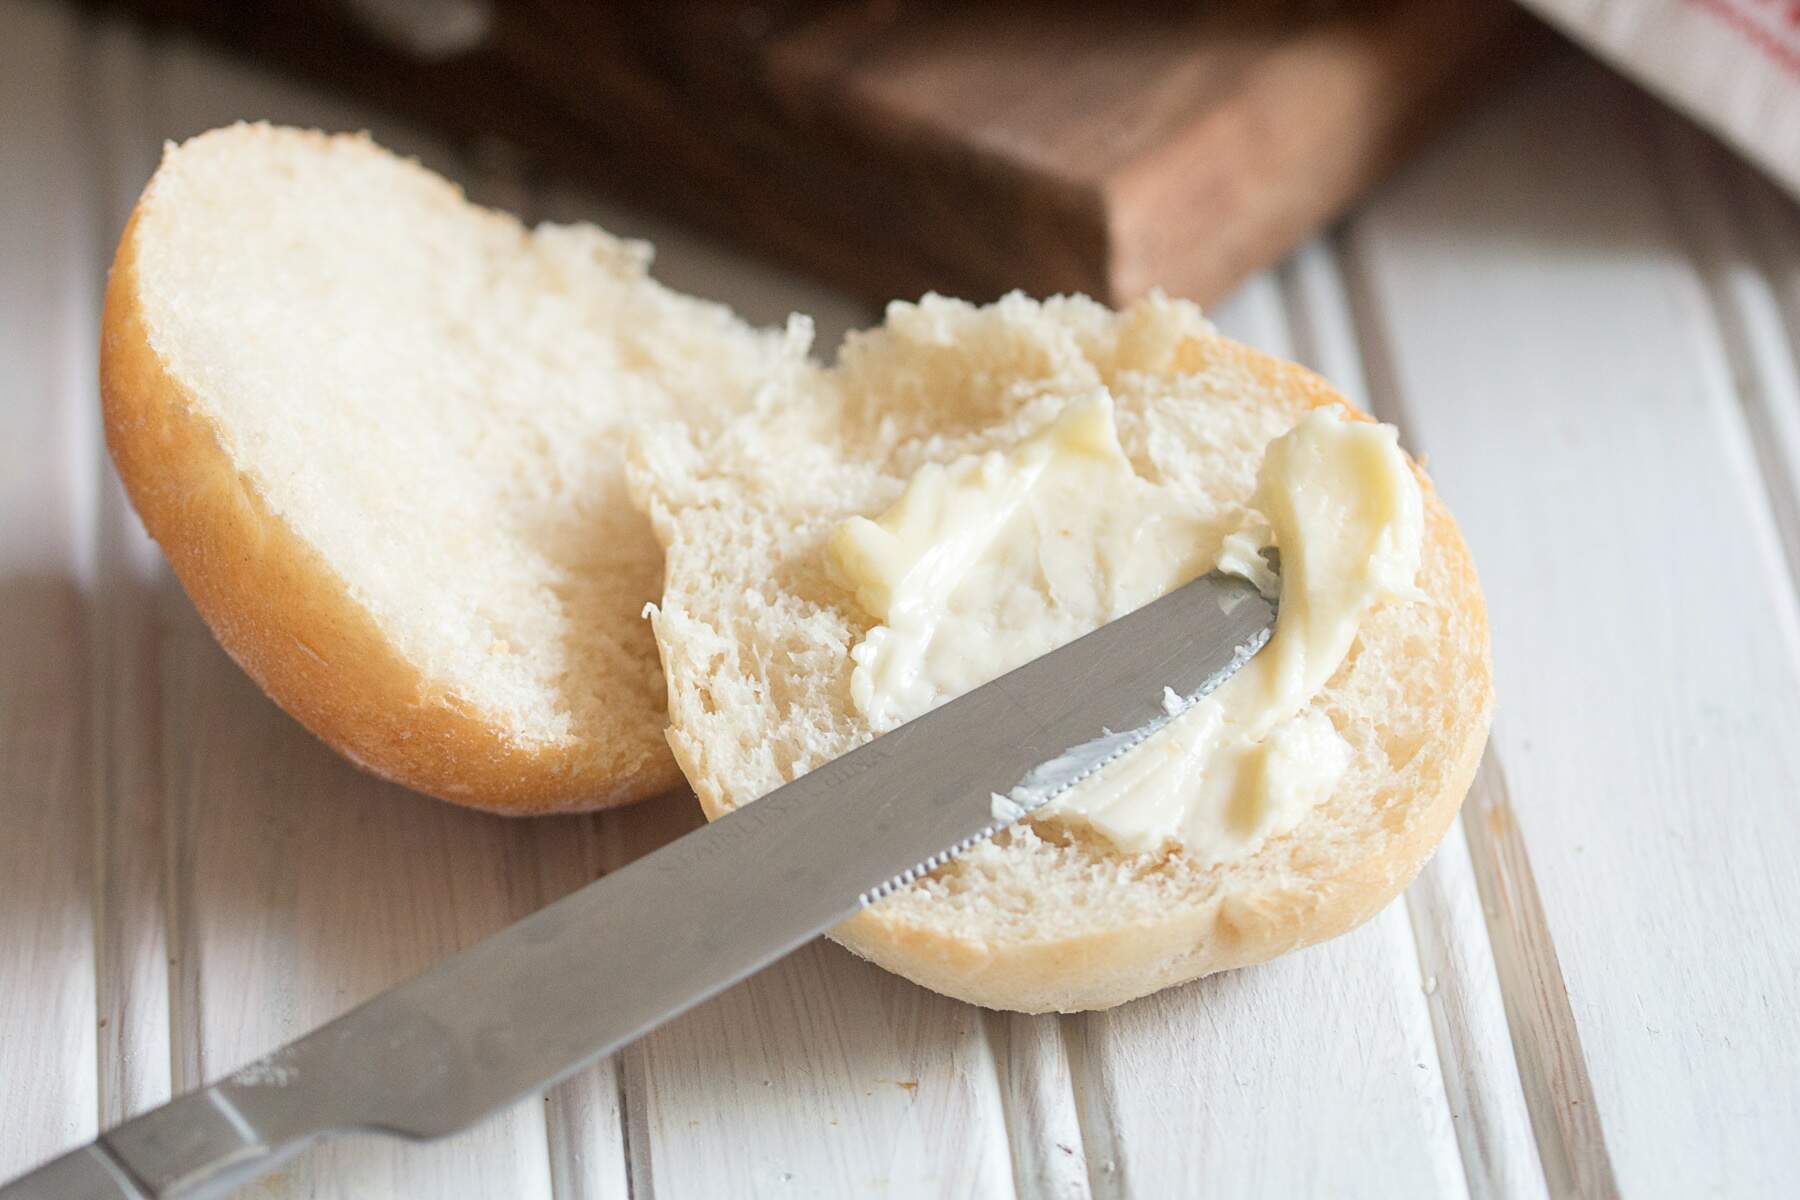
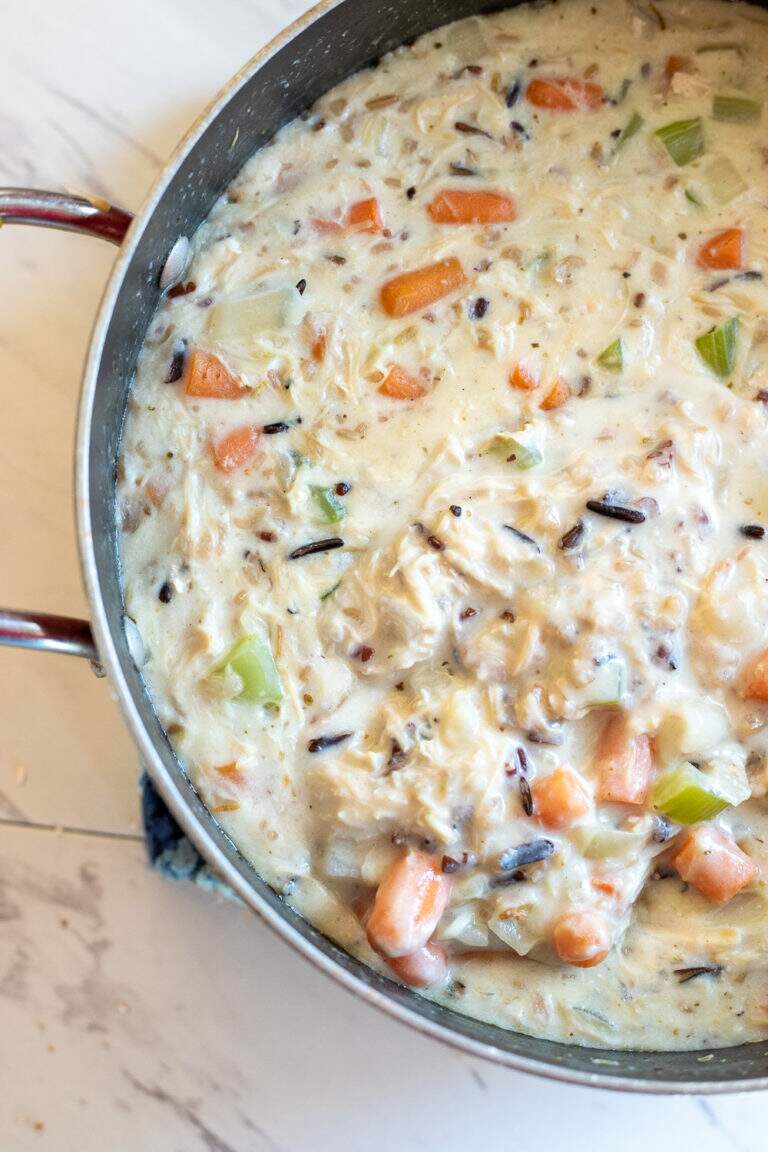
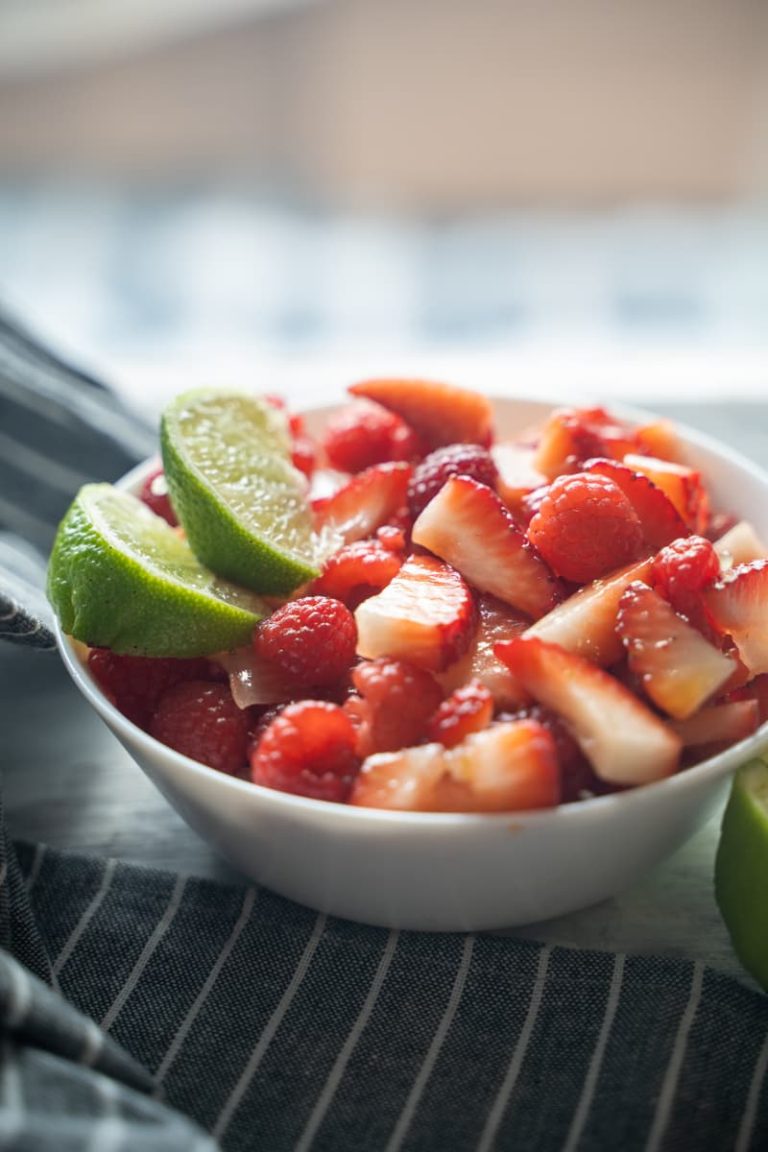
- Serve as a side for salad, soup, or alone with a delicious smathering of butter!
Notes
Adapted from Fine Cooking
Nutrition Information:
Yield: 18 Serving Size: rollAmount Per Serving: Calories: 97


Id like to make this recipe now but dont have dried milk. Can i sub half cup milk for half cup water in the recipe
I have never tried without the dried milk so I can’t say for sure, but I bet your idea will work great! If you try it let me know how it goes!
Do you need to defrost the rolls before finish baking, or can you put them into the oven frozen?
No need to defrost, just bake from frozen!
Fully cooked Rolls were too hard after cooling!
I’m sorry that happened for you! Maybe play with the cooking time a little as every oven cooks just a little bit different! Thanks for the feedback.