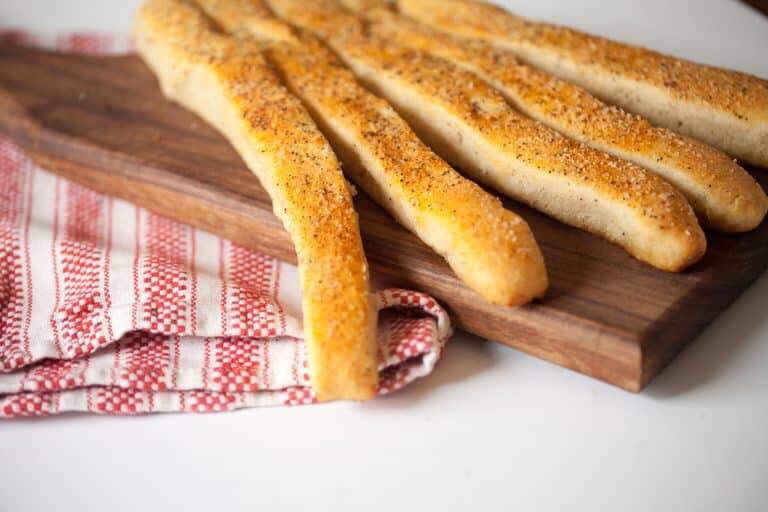
The best buttery garlic knots (with freezer instructions!)
These homemade buttery garlic knots are so addicting, there’s no way you can eat just one! This recipe also comes with freezer instructions so you can be eating amazing butterly garlicky goodness whenever you crave them in just 10 minutes from the freezer!
Who else has been baking up a storm over the last few weeks? Turns out quarantine brings out the baker in me even more than Christmas.
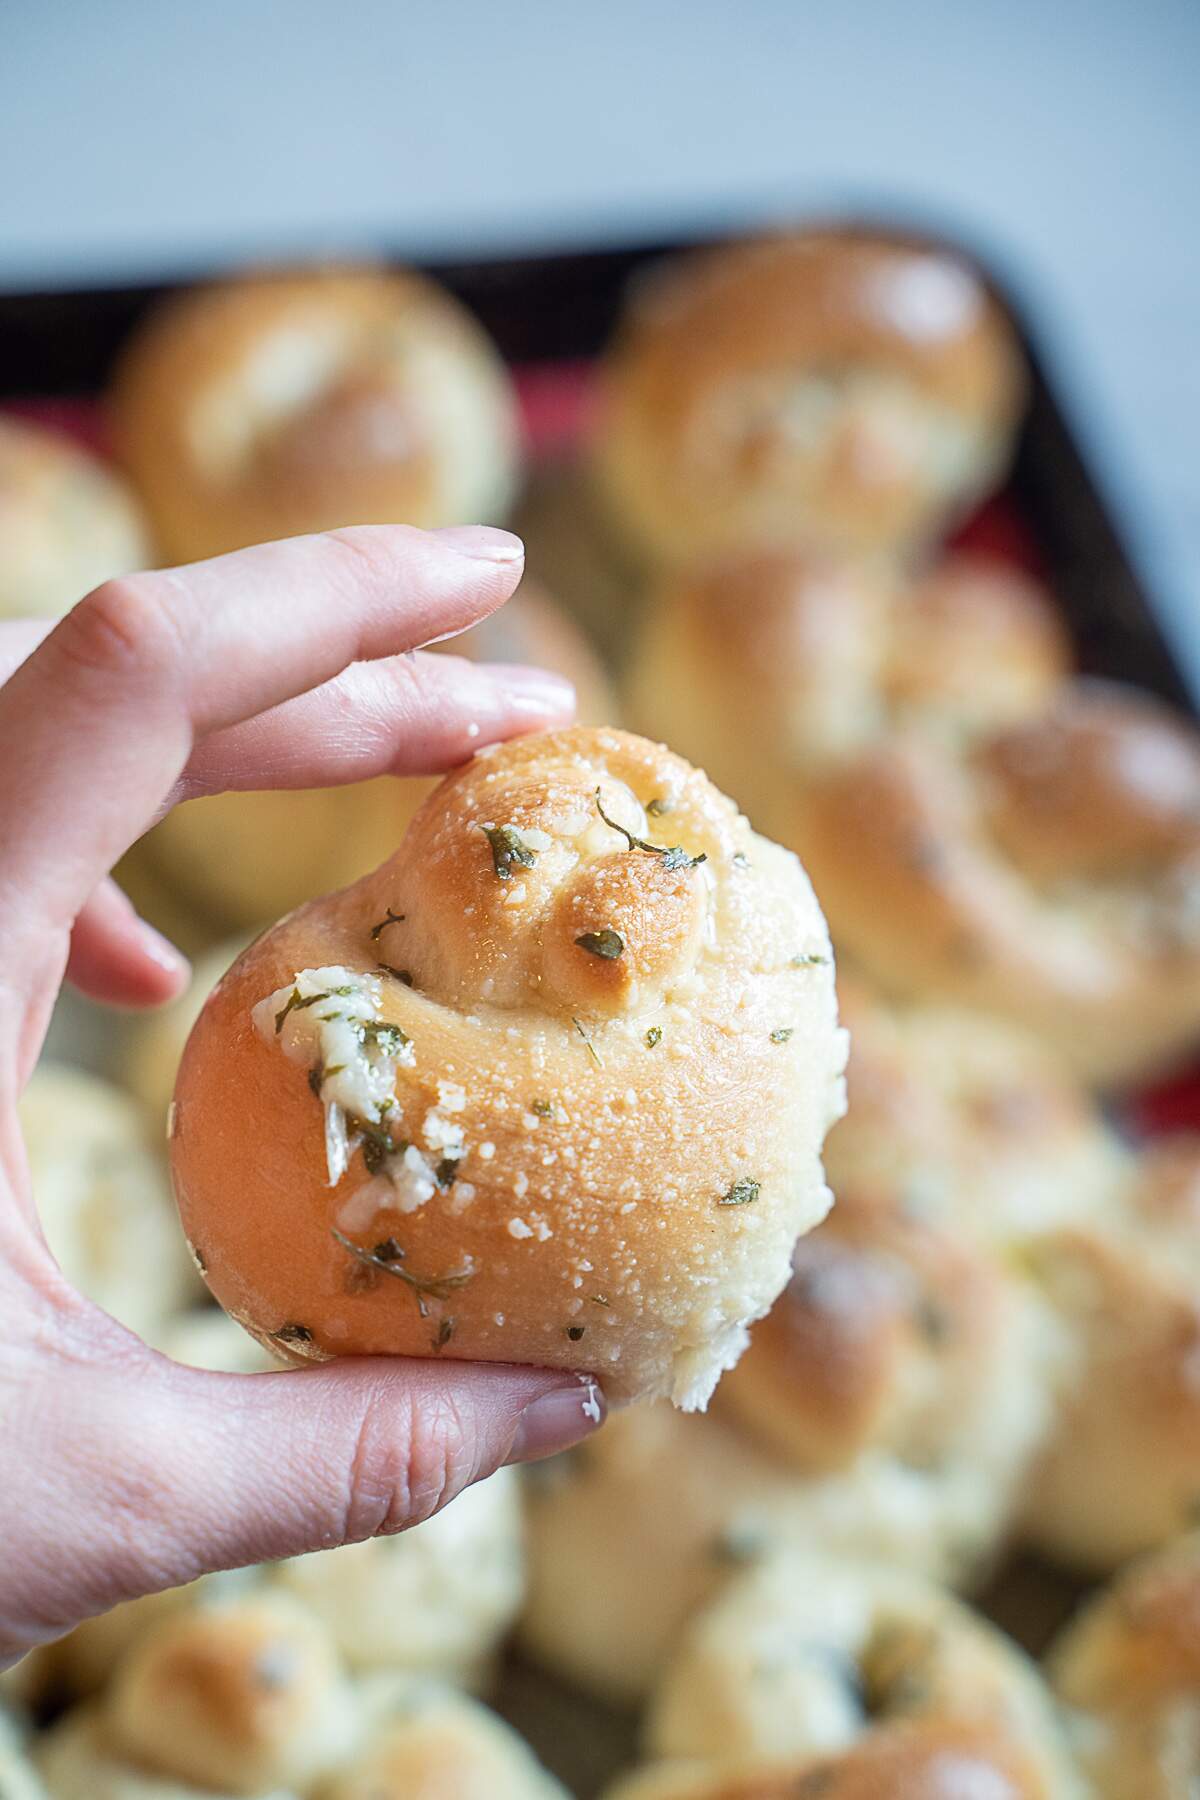
We’ve had these buttery garlic knots on repeat every week since this social distancing started, and for good reason. There’s not much more comforting than a hot buttery garlic knot straight out of the oven.
The thing I hate the most about baking breads and yeast products though is how time-consuming it is.
I mean, when I’ve got a craving I really don’t want to be waiting 2 1/2 half hours to have it in my belly, you know what I mean?
Buttery Garlic knots (with freezer instructions)
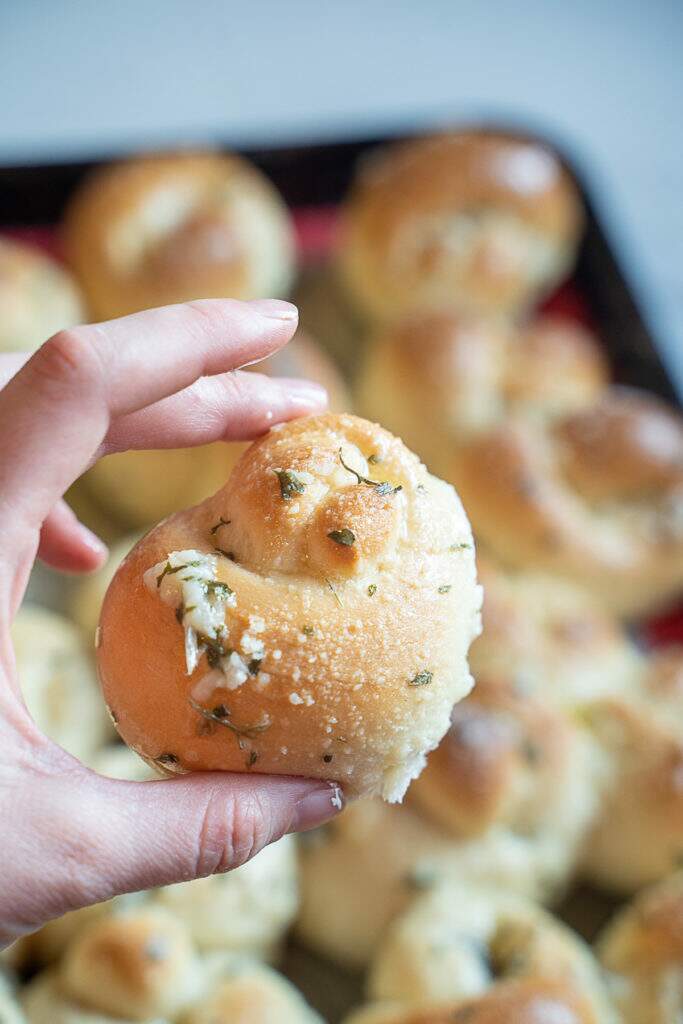
That’s why I’ve PERFECTED freezer directions for these puppies.
I’ve got you guys. You can thank me next time you’re enjoying a comforting buttery garlic knot at 10 pm that only took you 10 minutes to bake.
The key to freezing these puppies is similar to how I freeze most of my baked goods, by parbaking.
I’ve got a whole post about parbaking, but the reader’s digest version is this.
Instead of freezing fully-baked goods, we’re going to partialy bake them by dropping the oven temperature to 275 degrees.
These buttery garlic knots will technically be cooked all the way through, but they will look pale and underdone.
Then we’ll pop them in the freezer.
When it’s time to bake, simply brown and serve, baby.
Parbaking makes your baked goods taste fresher and less dry because you aren’t browning them twice.
It’s a pretty magical cooking technique.
How to make buttery garlic knots
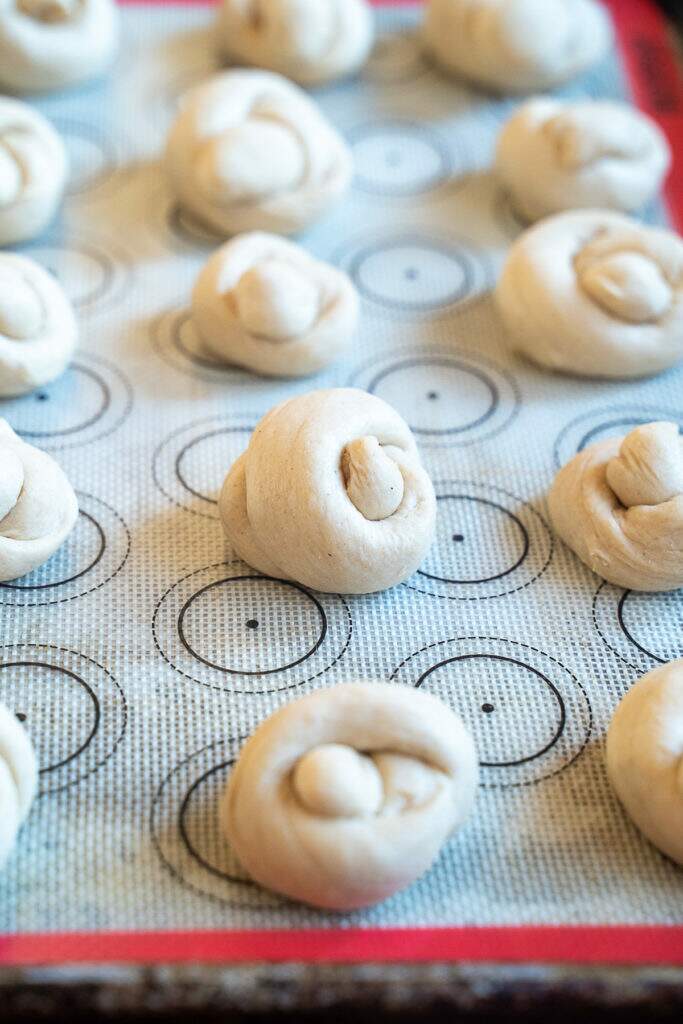
The preparation for these puppies is pretty basic as far as yeast breads go.
They have two rises, and you’ll want to make sure you’ve got a nice warm spot for them.
Also, SAF yeast is my absolute favorite, and I basically always have some on hand!
I like to turn my oven on to 200 degrees, turn it off and wait 5 minutes, and then use it like a proofing box for my baked goods.
It also keeps the dough away from my sweet but oh so devious children who like to play with it.
The buttery garlic sauce
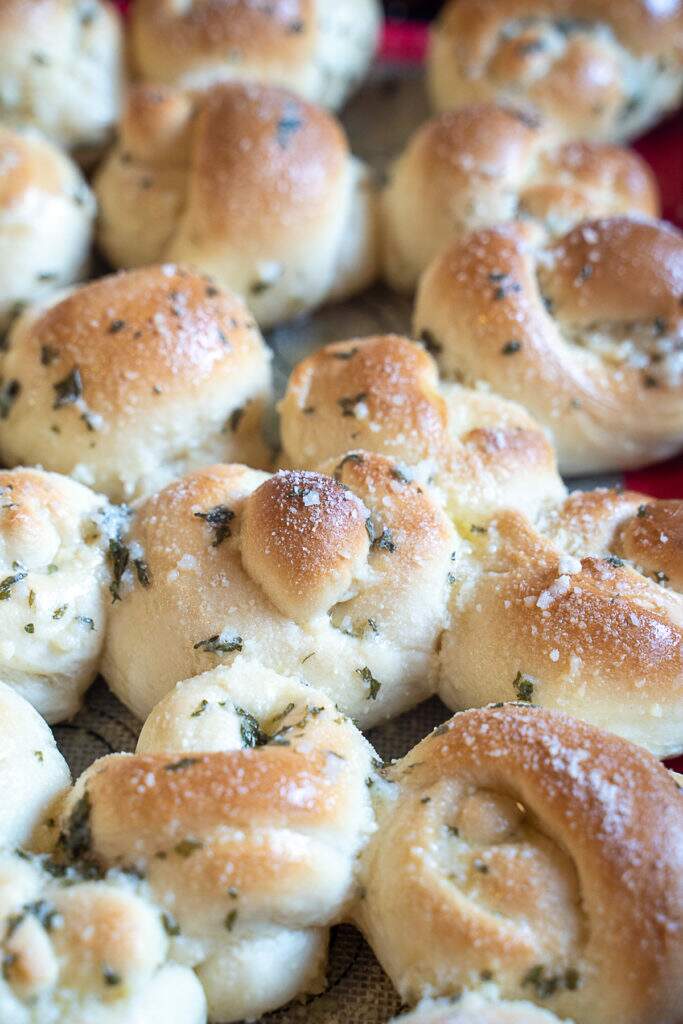
What makes these rolls extra delicious is the fresh garlic and parsley in the buttery garlic sauce.
When using fresh garlic, you’ll want to cook it a little first before adding it to your rolls to take some of the “bite” out.
In this recipe, I simply microwave the garlic with the butter and that’s enough to soften it’s flavor.
Next mix in the fresh parsley and brush all over your freshly baked rolls. A sprinkling of parmesan and sea salt and these buttery garlic rolls are ready to go.
Freezing the buttery garlic sauce
Not only can you freeze the rolls, you can also freeze the buttery garlic sauce.
When I’m freezing, I prefer to use 1-2 tsp of dried parsley instead of fresh. You CAN technically use fresh, but it loses some of it’s color in the freezer and is less appetizing.

Baking frozen garlic knots
When you are baking these from the freezer, you really just need to get a nice brown on them and make sure they are thawed and warm in the middle.
I usually go for 10-15 minutes at 400 straight from the freezer.
Then douse them in that buttery goodness.
Done.
What’s your favorite baked good? These buttery garlic rolls just might take the cake for me!
Buttery garlic knots
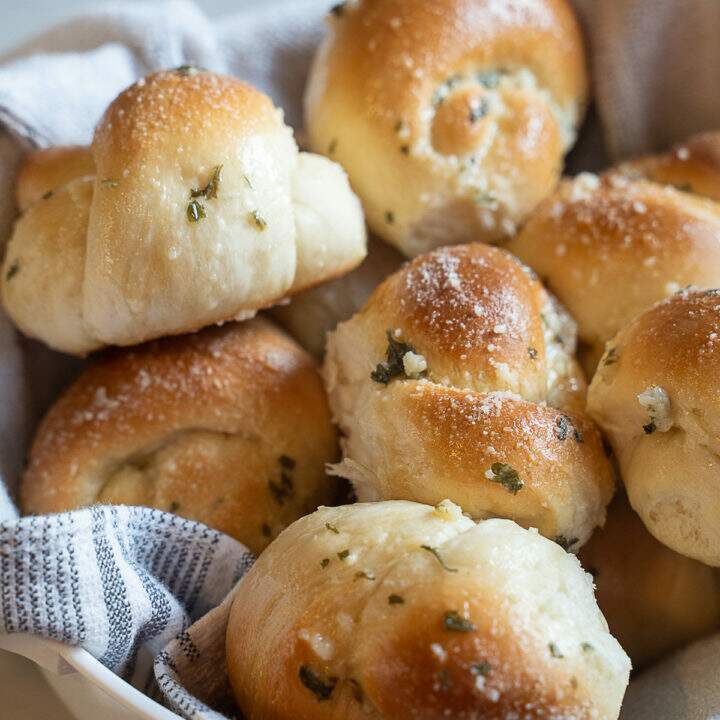
These buttery garlic knots are so addicting there's no way you can eat just one. With this recipe you can also prepare a bunch for the freezer so you can be eating buttery garlicky goodness whenever you want in just 10 minutes!
Ingredients
For the rolls
- 2 1/4 tsp active dry or instant yeast (1 packet)
- 1/4 C granulated sugar
- 1 1/3 C milk
- 1/4 C butter, softened
- 1 large egg
- 1 1/2 tsp salt
- 4 to 4 1/2 C all-purpose flour
For the garlic topping
- 1/4 C butter
- 2 Tbsp fresh garlic, minced
- 2 Tbsp fresh parsley, minced
- Grated parmesan cheese (to taste)
- Coarse salt for sprinkling
Instructions
8. Roll each piece of dough into a long rope and tie the rope into a knot. Place it on a baking sheet lined with parchment paper or a silicon baking mat with the knot facing up.
9. Cover again with a towel and allow to rise again until doubled (about 1 hour)
10. In the last 15 minutes of rise time preheat your oven to 400 degrees. Bake the garlic rolls until they are browned to your liking (15-20 minutes).
11. While the rolls are baking make your garlic sauce. Microwave garlic and butter together for 30-45 seconds until butter is melted. Mix in parsley.
12. When rolls have finished baking, brush garlic sauce onto the finished rolls with a pastry brush.
13. Sprinkle finished rolls lightly with coarse salt and grated parmesan cheese.
14. Serve warm on the side of your favorite soup, pizza, or with a side of marinara sauce to dip them in.
Freezer directions:
1. To prepare these rolls for the freezer follow the directions as written above until step 10.
2. Preheat your oven to 275 degrees instead of 400 degrees.
3. Bake the rolls until they have reached an internal temperature of 180 (15-20 minutes). Test with a thermometer to be sure, you want them to be cooked through. The rolls will still appear pale and undercooked.
4. Remove from the oven and cool. Flash freeze on a sheet pan until they are frozen through (about 4 hours).
5. You can make the garlic topping and freeze it as well if desired, or you can make it fresh on the day you finish baking the rolls.
6. Transfer frozen rolls to a labelled freezer bag. Rolls will stay good frozen for 2-3 months
7. When ready to serve:
8. Preheat oven to 400 degrees and bake from frozen until they are nicely browned on top and thawed in the center (10-15 minutes).
9. Brush with garlic butter topping and serve.
Nutrition Information:
Yield: 24 Serving Size: 1Amount Per Serving: Calories: 140Total Fat: 5gSaturated Fat: 3gTrans Fat: 0gUnsaturated Fat: 1gCholesterol: 19mgSodium: 215mgCarbohydrates: 21gFiber: 1gSugar: 2gProtein: 3g

