Homemade salted vanilla bean ice cream
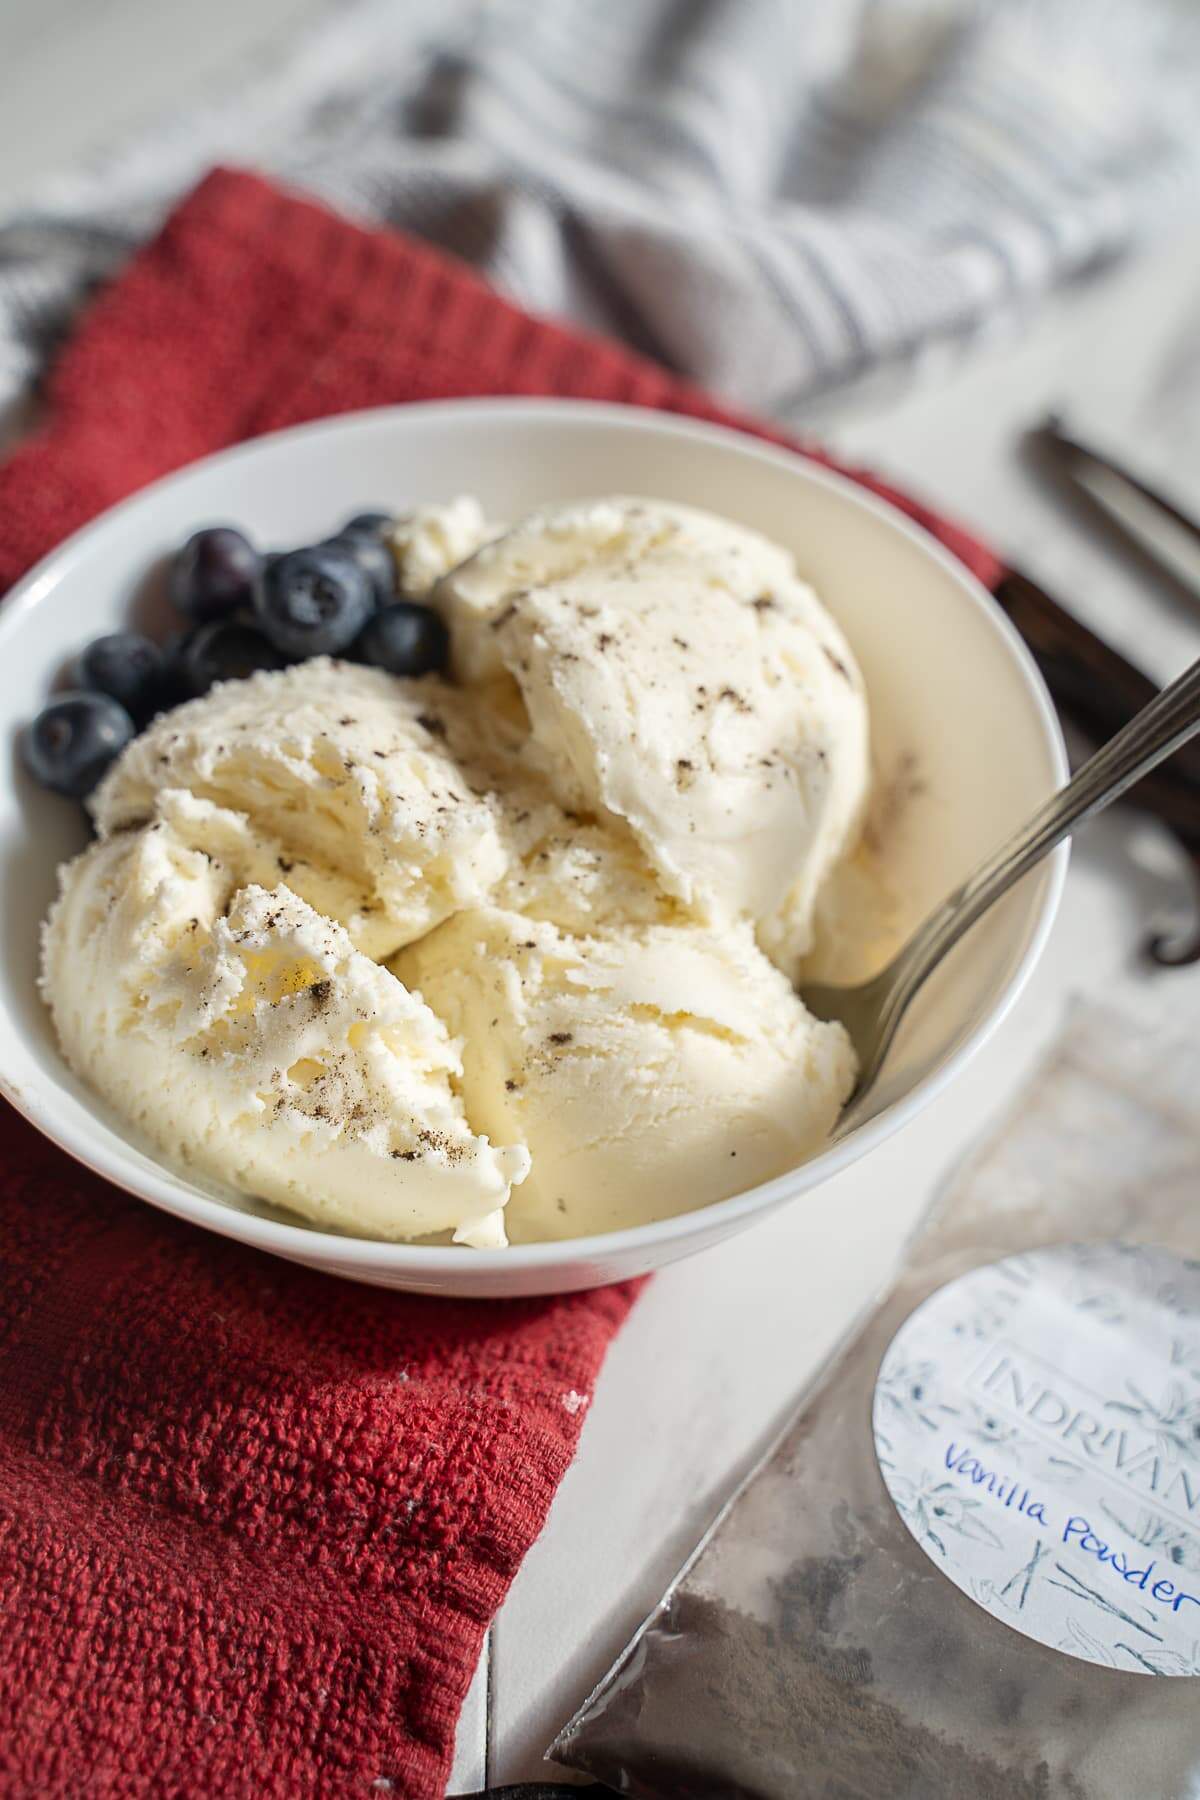
This homemade salted vanilla bean ice cream is soft and scoopable thanks to the addition of cream cheese and cornstarch, fresh vanilla beans and just the right amount of salt take it over the top for the best homemade ice cream recipe ever.

Do you want to make homemade ice cream that freezes soft, is super-easy, and is bursting with fresh vanilla flavor?
Look no further, this is the recipe you are looking for.

Homemade salted vanilla bean ice cream
I have been DYING to get started working with fresh Vanilla so when my friend Sara at Indri Vanilla approached me about working with her to create some awesome vanila-inspired content, I jumped at the opportunity!
It’s no secret that fresh Vanilla makes the absolute best Vanilla baked goods possible, but it can be overwhelming to figure out what products to get and where to get them.
How to make homemade ice cream soft and scoopable.
When I started to develop the recipe, I knew without a doubt that I would be turningo to Jeni Britton-Bauer’s base recipe to start.
If you haven’t heard of or tasted Jeni’s Splendid Ice cream, you are seriously missing out.
This hot spot in Ohio was my absolute fave for the 4 years we lived there, and I crave it frequently. I haven’t taken advantage of their “ship to home” options yet, but you’d better believe that will be happening soon.
Jeni’s recipe is unique in a few ways. She adds a few unexpected ingredients that make it absolutely incredible.
The first is cornstarch, she says cornstarch helps to thicken it up more than most homemade ice cream recipes.
The second is cream cheese (uh…yum). She adds just a smidge of cream cheese which she says helps make the ice cream scoopable (and it totally is scoopable!)

I love that the cream cheese adds just a tiny-tang that I’ve grown to love in my ice cream.
Making the ice cream base
Another cool thing about this recipe? It’s egg free so you don’t have to mess with all that tempering nonsense. Just a few minutes on the stovetop and you’ll be ready to go.
If you want to enjoy your ice cream as quickly as possible you’ll want to cool your base with an ice bath (see recipe for instructions)
If you can wait, you can also just throw the base in the fridge for a few hours instead if you want to be a little more hands off.
It’s your choice!
Choosing your Vanilla

I’m so glad I had Sara to help me navigate the vanilla world.
Let’s get something out of the way here first. Fresh Vanilla beans are expensive. I get it. …but the cost of vanilla extract has skyrocketed too.
Plus, how great are you going to feel about yourself for making your own extract or using fresh vanilla beans. In the end, making your own extract is actually the most cost-effective way to have fresh Vanilla.
For this recipe, you have 3 different options for flavoring your ice cream.
Fresh vanilla bean-You could buy one fresh vanilla bean and scrape the pod into the ice cream for incredible fresh flavor
Vanilla Powder– I wasn’t familiar with this product until Sara introduced me to it, and can I just say..MIND. FREAKING. BLOWN.
This product is amazing. It’s made by drying out and grinding vanilla beans into a powder. It packs a punch of fresh flavor, and is more cost-effective than buying individual beans. In this recipe, I actually used a combination of vanilla extract and vanilla powder when I made it and it was delightful!
Vanilla Extract- Buy pure vanilla extract from the store, or make your own! The problem with the “make your own” route is that while it’s cost-effective and tastes amazing, it does take at least 6 months for your vanilla to be “extracted” enough to use. Don’t let that deter you though! Start some extract now, and maybe save a bean for this recipe or grab some vanilla powder while you wait!
Why salt?
I am a HUGE believe in salt in my desserts.
In this recipe especially, you’re investing your money in fresh amazing vanilla and you want to be able to taste it.
You don’t want the ice cream to taste “salty” necessarily, but adding the right amount of salt will enhance the vanilla flavor beautifully and ensure that you are tasting it as much as possible.
How much you add will depend on your tastes, but start with about 1/8 tsp and add until it suits your taste.
The ice cream maker
If you think homemade ice cream is overwhelming because of the salt, and the bulky machines, you must know that ice cream makers have come a LONG way.
This one from cuisinart I have had for several years, and I LOVE it. All you have to do is freeze the base and you’re ready for homemade ice cream whenever you want it.
I just keep the base in the freezer so I don’t have to remember to freeze it…but if you haven’t done that you’ll want to freeze it about 24 hours before beginning this recipe.
Freezing your salted vanilla bean ice cream
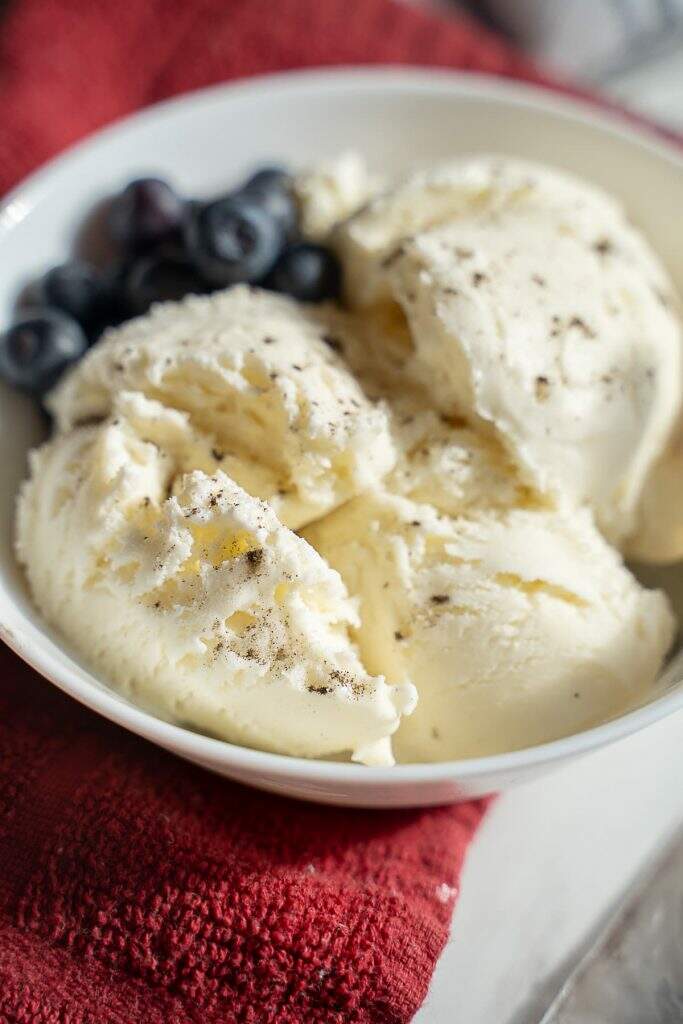
When you made homemade ice cream as a kid did you freeze it before eating?
We never did…we just dove right in right after it finished churning.
…and while you totally could do that, my world was changed when I started exercising some restraing and freezing the ice cream before enjoying it. This makes homemade ice cream have a consistency that’s more similar to storebought and it won’t be melting all over while you enjoy it.
I am sure your mouth is watering enough by now. Here’s the recipe, enjoy!
What flavors of homemade ice cream do you want to see next??
You can also try this divine peppermint version too!
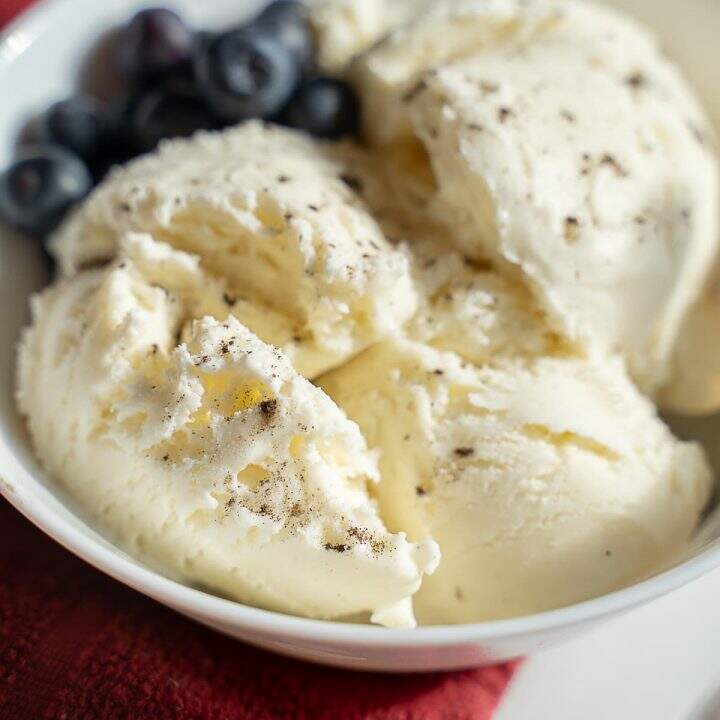
Homemade Salted Vanilla Bean Ice Cream
This salted vanilla bean ice cream (Based Jeni's Splendid Ice Cream Recipe) makes perfect, scoopable, and thick homemade ice cream. Not the least bit icy and oozing with vanilla bean flavor, you won't be able to stop eating it!
Ingredients
- 2 C Whole Milk
- 1 Tbsp Cornstarch
- 3 Tbsp Cream cheese, at room temperature
- 1 1/4 C Heavy Cream
- 2/3 C sugar
- 1 1/5 Tbsp light corn syrup
- 1 Vanilla bean, 1/2 tsp Vanilla Powder, or 1 tsp Vanilla extract
- 1/8-1/4 tsp kosher salt
Instructions
- Fill a large bowl with ice water and set aside. Mix two tbsp of milk with cornstarch in a small bowl and set aside. Whish the cream cheese in a medium bowl until smooth and set aside.
- In a large saucepan combine the rest of the milk, cream sugar, corn syrup, and your choice of vanilla. Bring mixture to a boil and cook over medium heat until the sugar dissolves (about 4 minutes). Gradually whisk in the cornstarch mixtures. Return to a boil and boil for about 2 minutes until the mixture has thickened slightly.
- gradually whisk the hot milk mixture into the cream cheese until smooth (you'll want to do this a little at a time to avoid any lumps). Whisk in the salt. Set the bowl inside the ice water bath and let sit, stirring occasionall until cold. This will take about 20 minutes. You may need to add more ice as needed.
- Strain the ice cream (in case there are any cream cheese lumps) into the ice cream base of an ice cream maker and churcn for 20 minutes.
- Pack the ice cream into a freezer-save tupperware with a little room at the top for the ice cream to expand. Freeze for at least four hours before enjoying.
Notes
Make sure your ice cream maker base has been frozen for at least 12 hours, preferably 24 hours before freezing. Do not remove it from the freezer until the ice cream is ready to churn. Recipe is slightly adapted from Jeni-Britton-Bauer at Food and WIne Magazine.
Nutrition Information:
Yield: 8 Serving Size: 1/2 CAmount Per Serving: Calories: 262Total Fat: 17gSaturated Fat: 11gTrans Fat: 0gUnsaturated Fat: 5gCholesterol: 53mgSodium: 161mgCarbohydrates: 25gFiber: 0gSugar: 24gProtein: 3g

