How to Make Homemade Fried Buttermilk Chicken Tenders
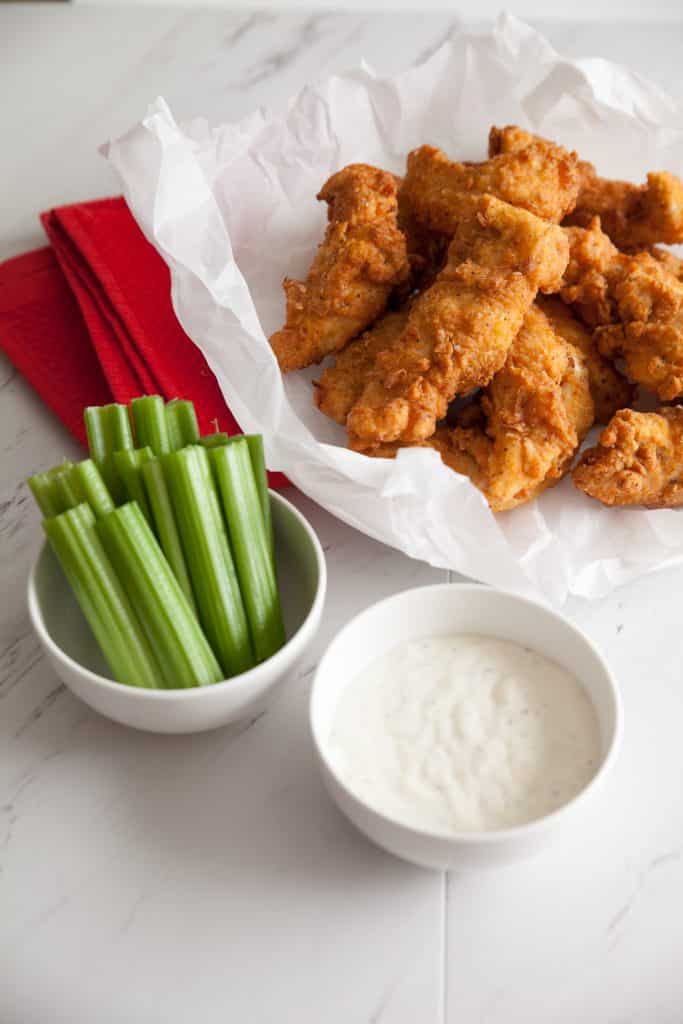
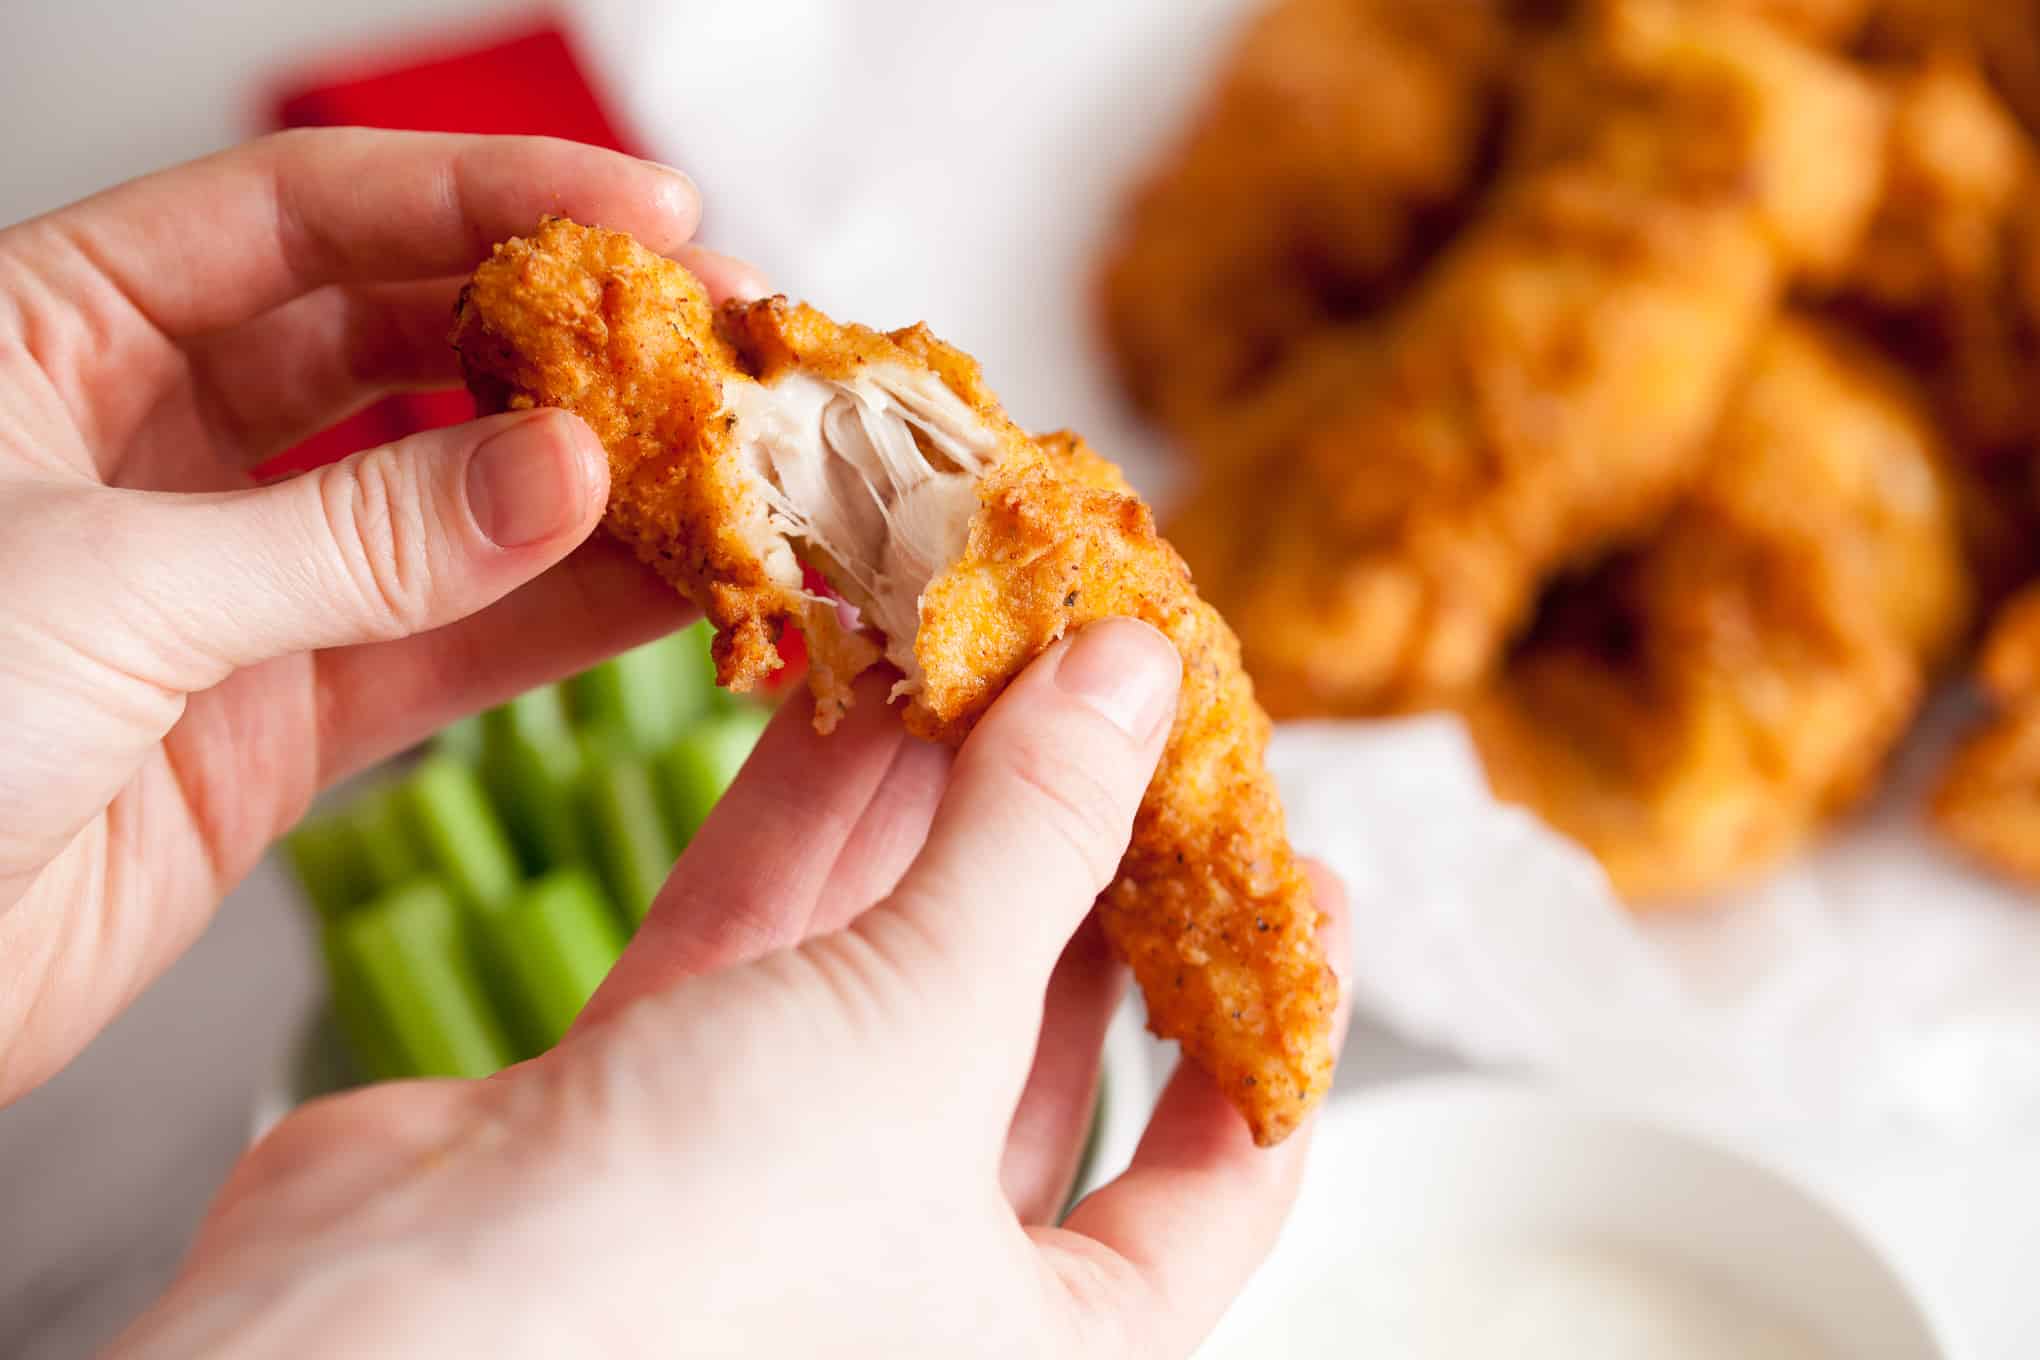
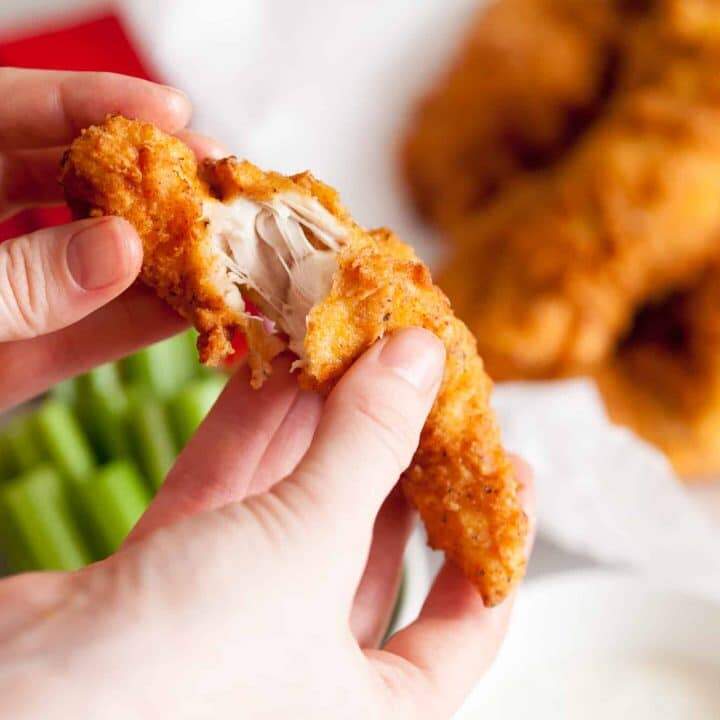
Making your own fried buttermilk chicken tenders is so much easier than you think. In less than thirty minutes you can have moist and tender on the inside, perfectly spicy and crispy on the outside chicken tenders that taste so much better than a restaurant.
So…I have kind of an embarrassing confession.
Up until my eighteenth year of life, I was not a food lover. Don’t get me wrong, I loved eating as much as I do now, but I LITERALLY (and yes, I know the meaning of the word literally) subsisted on four things
- Chicken tenders
- French Fries
- Little Caesar’s Pizza
- Ice Cream Cones

My family always went out to eat on Saturday afternoons, and no matter where we went, I got chicken tenders and fries. Off of the kid’s menu. Until I was eighteen years old. Embarrassing. Don’t even get me started on starting to date. What was supposed to be a fun night out getting to know someone was usually a stressful experience as I tried to find something “mature” on the menu that wouldn’t make me gag. True story.
Homemade Fried Buttermilk Chicken Tenders
What can I say though, old habits die hard. While I have certainly branched out in the culinary world, I still hold a very special place in my heart for chicken fingers and fries. One thing I didn’t know until now is that it is SUPER easy to make hand-breaded chicken fingers at home, and they’ve got some SERIOUS advantages to take-out. Homemade chicken Tenders are:
- More Moist and Tender-those chicken tenders at the restaurant are often left sitting under warming lights for who knows how long, which seriously dries them out. Another little known fact, many (most) restaurants aren’t breading their own tenders anyway. They are re-frying frozen chicken tenders which means dry little tenders that have been fried twice for no reason. Lame.
- Customizable-This recipe is pretty classic, and will taste like a version from your favorite diner (albeit hopefully a bit more fresh and delicious) but you can experiment with adding different spices to the mix, making super spicy tenders, or even just changing up the flavor.
- Fast and Easy-Okay, okay. They are not faster or easier than going through the drive through, but the chicken cooks in less than 10 minutes, and it only takes a few minutes to batter them.

This post contains affiliate links, meaning that if you make a purchase from one of these links a small percentage comes back to me at no additional cost to you. Learn more by visiting my disclosure page.
Suggested Tools for Buttermilk Chicken Tenders
- Meat Thermometer–While not 100% necessary, oil temperature when frying is CRUCIAL. While there are some tips to guessing oil temperature (see here) I love that a meat thermometer beeps when the oil is up to temp. So easy!
- Cast Iron Pot–Again, any old pot will do, but cast iron heats evenly and is my favorite for frying in.
- Strainer Ladle–The tenders are a bit fragile when you remove them from the oil. I have used tongs, butprefer a strainer ladle, because it doesn’t smash the outside of the tender and make the batter fall off. Make sure you use a metal one NOT a plastic one since you are working with hot oil!
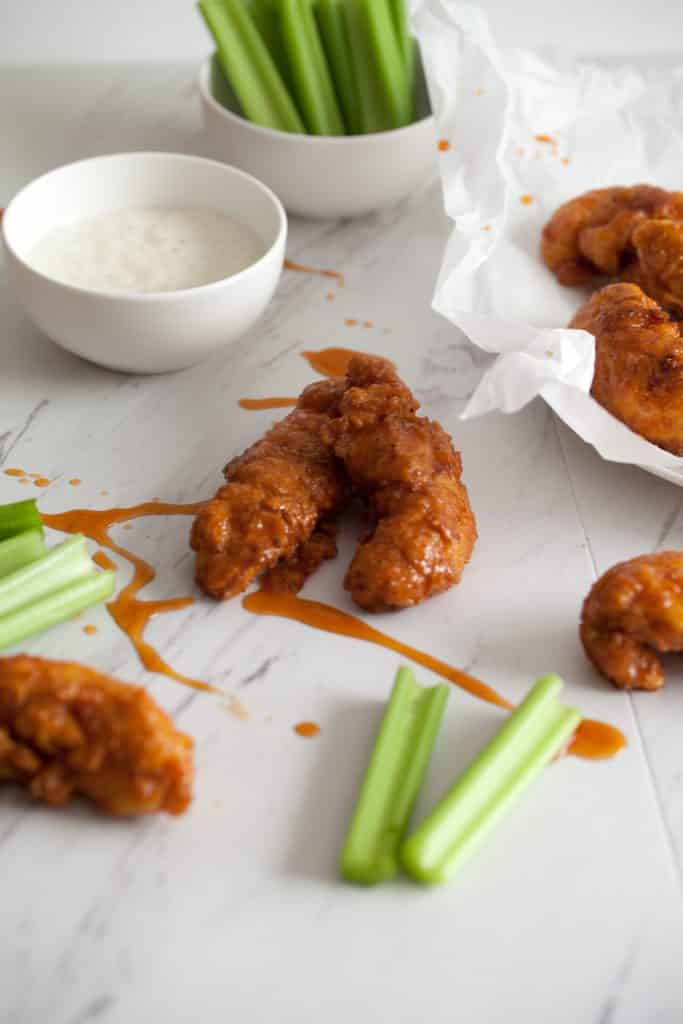
I often finish off my buttermilk chicken tenders with a sweet and delicious, hot and sticky sauce. This recipe is inspired by the chain diner with locations mostly in Utah, but all over the west called Winger’s. The sauce is optional as the tenders taste AWESOME plain or dipped in your favorite bbq sauce, but the sweet and sticky sauce makes them top notch.
If you have a chicken tender guilty pleasure like I do, these chicken tenders might just be life-changing. If you think that chicken tenders are kid food…relax, live a little, and give these chicken tenders a try. They’re sure to suit your
grown up tastes. You won’t be sorry.
[fl_builder_insert_layout id=”2161″]
[fl_builder_insert_layout id=”2102″]
How to Make Homemade Fried Buttermilk Chicken Tenders
These delicious fried buttermilk chicken tenders are so easy to make and even more delicious than your favorite diner version, guaranteed!
Ingredients
Chicken Tenders
- 3 lbs Chicken Tenderloins (10-12 tenders)
- 1 C Buttermilk
- 1 C Flour
- 1 Tbsp Salt
- 1/2 tsp pepper
- 1/2 tsp cayenne pepper
- 2 tsp garlic powder
- 2 tsp paprika
- Canola Oil for frying
Sweet and Sticky Sauce
- 1/4 C Frank's Hot Sauce
- 3/4 C Brown Sugar
- 1/4 C Water
Instructions
For the Chicken Tenders
- Fill a enameled cast iron pot about 1/3 way full with canola oil, begin heating on the stove over medium high heat. Clip a candy thermometer to the side so you will know when the oil is ready for frying, you want the oil to be about 350 degrees F. The oil will cool slightly when you add tenders. If you find that the oil is heating too quickly, add a bit more cold oil to cool it down. This will cool it down faster than turning down the heat.
- Mix flour, salt, pepper, cayenne, garlic powder, and paprika in a shallow bowl.
- Dredge chicken tenders in flour mixture, then dip in buttermilk, then vigorously batter in flour mixture again until they are well coated. Set on a clean plate until ready to fry.
- When the oil is hot, fry the tenders. Don't overcrowd the pan, I fried 4-5 tenders at a time. I found that the tenders took about 5-7 minutes to fry, but it's best to remove one tender and check with a meat thermometer that they meet an internal temperature of 165 degrees F.
- When cooked, remove chicken tenders with tongs and place on a plate lined with paper towels to drain off excess oil. Serve after drained and cooled slightly.
For the Sweet and Sticky Sauce
- Mix all ingredients in a small saucepan and bring to a boil, cook over medium heat for 2-3 min until sauce has thickened slightly. Add chicken tenders one at a time and stir to coat. Remove tenders and serve.
Notes
Notes
I have only tried this recipe with Frank's hot sauce, so I can't attest to how any other sauce would taste. Sauce Recipe Adapted from Six Sister's Stuff
Nutrition Information:
Yield: 6 Serving Size: 2 tendersAmount Per Serving: Calories: 579Total Fat: 11gSaturated Fat: 3gTrans Fat: 0gUnsaturated Fat: 7gCholesterol: 194mgSodium: 1667mgCarbohydrates: 41gFiber: 1gSugar: 24gProtein: 74g
Nutrition information isn’t always accurate.



I bet these taste a million times better than store-bought ones!!!
Sarah, they truly do!
Pre-18 year old you sounds a lot like my best friend’s little sister haha! I should definitely send her this recipe!
These look so good though, you can’t beat the classics sometimes – and homemade just makes them perfect!
There is hope yet, I’m not picky at all anymore. Except weird soft cheeses…I just can’t 🙂
There’s a barbecue place downtown here and I NEVER actually order barbecue there because they have the best chicken fingers in the whole world! And if I do get barbecue for a changeup on a rare occasion, I always wish I had stuck with the chicken fingers. I feel ya! I will need to give these a shot because my last couple attempts at making chicken fingers at home have bombed!
Truly, they are comfort food to the max!
So good!!!! My family loved the chicken. Will always use this recipe. Thanks!!!
Thanks! It’s a good one for sure!
would I be able to use this recipe and spray them or coat them with oil and bake in the oven?
ideally I would like to make a bunch of chicken strips and either make them and then freeze or bread them and freeze raw to bake later.
I love fried chicken and chicken strips but sometimes frying chicken feels like a waste of good oil for a small family and I’m not great at reusing and/or saving leftover oil, and store-bought chicken strips are getting so expensive
Yes I’ve done it this way too!